Raylib-cs Getting Started: Hello World
So you are interested in creating a game or fun tools with Raylib, but you do not know where to start?
Here you can find the basic information to get your first Raylib-cs project running.
What can you expect?
- Creating a Raylib window
- Drawing text
- Loading a texture
- Setting up asset loading in your C# project
- A small C# quality-of-life wrapper for Raylib resources
Alright, let’s get started!
Prerequisites
-
Install the .NET SDK 10.
Get it here! -
Get yourself a C# IDE. My recommendations:
-
Rider
Downside: it is not free, but it is a really nice cross-platform IDE. -
Visual Studio
Downside: Windows only. -
Visual Studio Code
Also install the following extension:
-
-
Good mood :D
Grab something to drink and enjoy!
Why use version 10 LTS version of .NET and not the latest version?
My recommendation is to use the LTS version of .NET for long-term projects. The LTS version is more stable and has longer support.
Feel free to use newer versions of .NET if you want, but for this documentation I am using .NET 10.
Create a new project
You can create the project from the command line or from your IDE. I will show both.
Create a new project using the command prompt
-
Open the command prompt and navigate to the directory where you want to create your project.
-
Create a new console project:
dotnet new console -n MyRaylibProject
This will create a new console application project named MyRaylibProject in the current directory.
- Go into the project folder:
cd MyRaylibProject
- Install the Raylib-cs NuGet package:
dotnet add package Raylib-cs
For more information about the Raylib-cs NuGet package, go to the Raylib-cs repository.
- Open the project in your IDE.
Create a new project using JetBrains Rider
-
Open Rider and click
File->New Solution. -
Use the following settings:
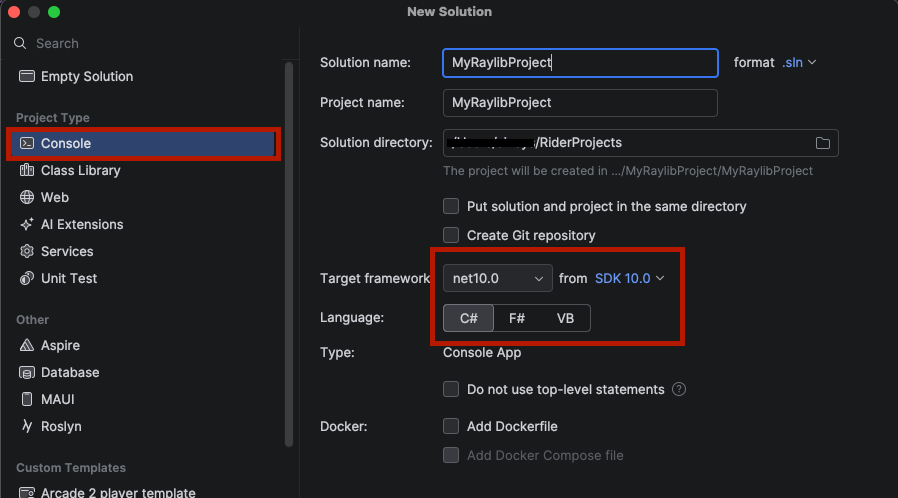
-
Click
Create. -
You should now see the default Hello World project:
// See https://aka.ms/new-console-template for more information

Console.WriteLine("Hello, World!");
Do you see an error?
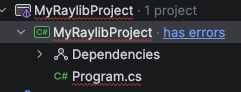
Go to settings with Ctrl+Alt+S and open the MSBuild settings:
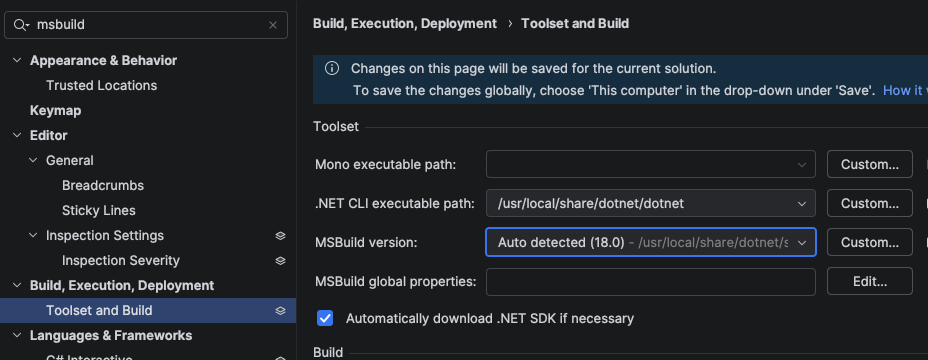
Make sure the .NET CLI executable path and MSBuild path are set correctly.
All good? Let’s continue!
- Go to the NuGet package manager and install the Raylib-cs package:
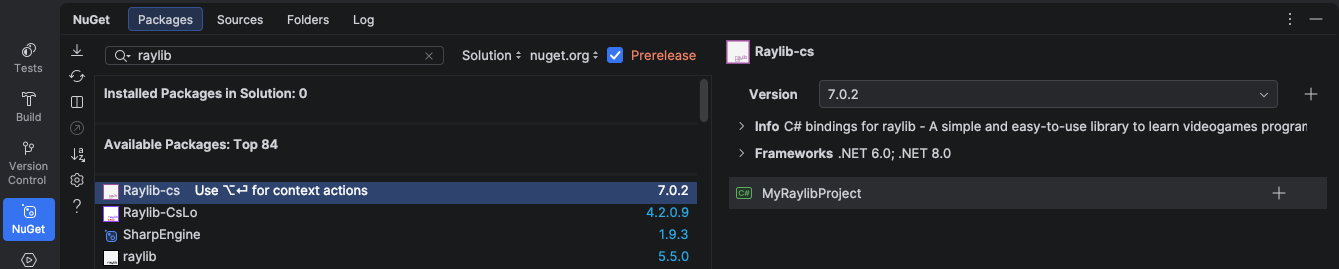
Your project should now be ready to go!
First Hello World
Replace all the code in Program.cs with the following code.
No worries, I will explain what this code does after we run it.
using Raylib_cs;

namespace MyRaylibProject;

internal static class Program
{
    // STAThread is required if you deploy using NativeAOT on Windows.
    // See: https://github.com/raylib-cs/raylib-cs/issues/301
    [System.STAThread]
    public static void Main()
    {
        Raylib.InitWindow(800, 480, "Hello World");

        while (!Raylib.WindowShouldClose())
        {
            Raylib.BeginDrawing();
            Raylib.ClearBackground(Color.White);

            Raylib.DrawText("Hello, world!", 12, 12, 20, Color.Black);

            Raylib.EndDrawing();
        }

        Raylib.CloseWindow();
    }
}
Build and run the project. You should see the following:
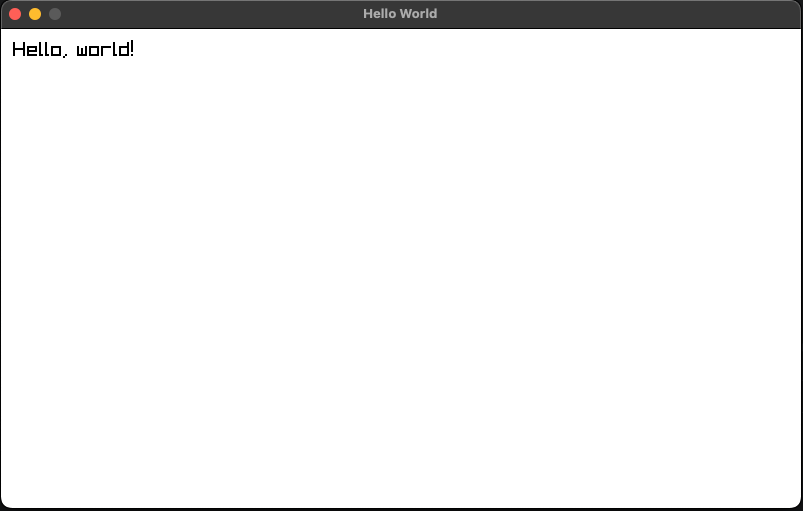
Congratulations! You just created your first Raylib application! Now ship it! Release it on Steam and let the world know!
No?
Ah, right. You want to know more?
Alright, let me explain what this code does first.
What does this code do?
public static void Main()
This is the entry point of the application. It is the first method that is called when the application starts.
Raylib.InitWindow(800, 480, "Hello World");
This initializes a window with a width of 800 pixels, a height of 480 pixels, and the title Hello World.
This is also where Raylib initializes the window and graphics context.
while (!Raylib.WindowShouldClose())
This is the main loop of the application.
By default, pressing ESC closes the window. This can be changed, but that is a topic for later.
Raylib.BeginDrawing();
This starts drawing to the window.
Every drawing operation should happen between BeginDrawing() and EndDrawing().
My advice is to do your update logic before drawing.
Raylib.ClearBackground(Color.White);
This clears the background of the window with a white color.
Very bright white... yes, I like dark mode.
Also interesting note: official Raylib uses uppercase names for colors, like WHITE and BLACK. In Raylib-cs, colors use C# naming style, so you use Color.White and Color.Black.
Raylib.DrawText("Hello, world!", 12, 12, 20, Color.Black);
This draws the text Hello, world! at position (12, 12) with a font size of 20 pixels and a black color.
This uses the default Raylib font.
Raylib.EndDrawing();
This ends the drawing step and presents the frame.
Raylib.CloseWindow();
This closes the window and frees internal Raylib resources.
We are not talking about textures, sounds, and other manually loaded resources here. Keep that in mind!
Ok, I want some pictures!
Alright, let’s load an image.
-
Create a folder inside your project called
Assets. -
Put an image inside that folder. You can use this one as an example:

- Below this line:
Raylib.InitWindow(800, 480, "Hello World");
Add this line:
var texture = Raylib.LoadTexture("Assets/image.png");
- Below this line:
Raylib.DrawText("Hello, world!", 12, 12, 20, Color.Black);
Add this line:
Raylib.DrawTexture(texture, 12, 52, Color.White);
- Above this line:
Raylib.CloseWindow();
Add this line:
Raylib.UnloadTexture(texture);
Your code should now load the texture, draw it, and unload it before the window closes.
Build and run the project. You should now see this:
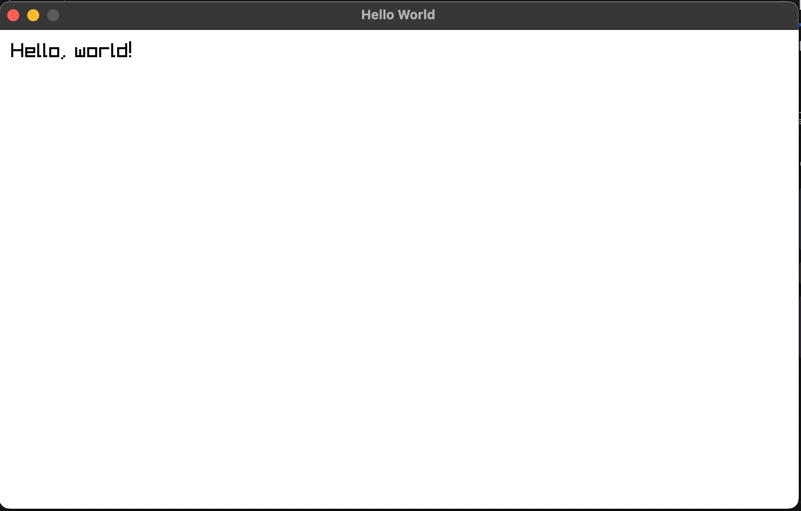
Whut?! Where is the image?!?
This is exactly what I wanted to show you, and this is why we created a console application.
Let’s take a look at the console output:
WARNING: FILEIO: [Assets/image.png] Failed to open file
INFO: TEXTURE: [ID 2] Unloaded texture data from VRAM (GPU)
INFO: SHADER: [ID 3] Default shader unloaded successfully
INFO: TEXTURE: [ID 1] Default texture unloaded successfully
INFO: Window closed successfully
There are no C# errors. The application did not crash. But the image was not loaded.
You can see this warning in the console:
WARNING: FILEIO: [Assets/image.png] Failed to open file
The reason is that the image was not copied to the bin output directory.
Let’s fix that now.
Copy assets to the output directory
Open your .csproj file as text in your IDE and add the following lines:
<ItemGroup>
  <Compile Remove="Assets/**/*"/>
</ItemGroup>

<ItemGroup>
  <Content Include="Assets/**/*.*">
    <CopyToOutputDirectory>PreserveNewest</CopyToOutputDirectory>
  </Content>
</ItemGroup>
What does this do?
- It copies all files from the
Assetsfolder to the output directory. - It only copies files that changed.
- You do not need to manually track every asset file :D
Build and run the project again. You should now see this:
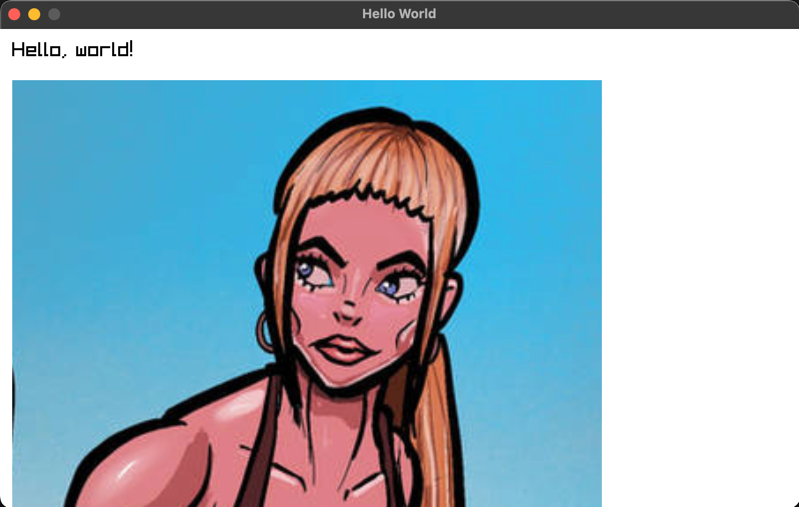
WAY better! Now we can see the image.
Bonus tip: a C# way to handle Raylib resources
You have now seen this:
var texture = Raylib.LoadTexture("Assets/image.png");
And this:
Raylib.UnloadTexture(texture);
That works fine, but we can make this a bit nicer in C#.
We can use the using statement to automatically unload the texture when it goes out of scope. This is a common C# pattern for resources that need to be cleaned up.
How? Let me show you.
At the end of the file, add this:
public readonly struct RaylibTexture : IDisposable
{
    public readonly Texture2D Texture;

    public RaylibTexture(string path)
    {
        Texture = Raylib.LoadTexture(path);
    }

    public void Dispose()
    {
        Raylib.UnloadTexture(Texture);
    }
}
This struct implements IDisposable, which means C# can call Dispose() automatically when used with using.
Now replace this:
var texture = Raylib.LoadTexture("Assets/image.png");
With this:
using var texture = new RaylibTexture("Assets/image.png");
And remove this line:
Raylib.UnloadTexture(texture);
Build the project.
You will now get an error:

This happens because Raylib.DrawTexture(...) expects a Texture2D, but we are now passing it our own RaylibTexture type.
We have two options.
Option 1: Use texture.Texture everywhere.
Raylib.DrawTexture(texture.Texture, 12, 52, Color.White);
This works, but it is a bit ugly if you need to do it everywhere.
Option 2: Use an implicit conversion.
This lets us tell the compiler how to automatically convert RaylibTexture to Texture2D.
Add this inside the RaylibTexture struct:
public static implicit operator Texture2D(RaylibTexture texture)
{
    return texture.Texture;
}
The full struct now looks like this:
public readonly struct RaylibTexture : IDisposable
{
    public readonly Texture2D Texture;

    public RaylibTexture(string path)
    {
        Texture = Raylib.LoadTexture(path);
    }

    public static implicit operator Texture2D(RaylibTexture texture)
    {
        return texture.Texture;
    }

    public void Dispose()
    {
        Raylib.UnloadTexture(Texture);
    }
}
Build and run the project again.
You should still see the image, but now the texture is automatically unloaded when the application leaves the scope.
Nice, right?
Final code
Your Program.cs should now look like this:
using Raylib_cs;

namespace MyRaylibProject;

internal static class Program
{
    // STAThread is required if you deploy using NativeAOT on Windows.
    // See: https://github.com/raylib-cs/raylib-cs/issues/301
    [System.STAThread]
    public static void Main()
    {
        Raylib.InitWindow(800, 480, "Hello World");

        using var texture = new RaylibTexture("Assets/image.png");

        while (!Raylib.WindowShouldClose())
        {
            Raylib.BeginDrawing();
            Raylib.ClearBackground(Color.White);

            Raylib.DrawText("Hello, world!", 12, 12, 20, Color.Black);
            Raylib.DrawTexture(texture, 12, 52, Color.White);

            Raylib.EndDrawing();
        }

        Raylib.CloseWindow();
    }
}

public readonly struct RaylibTexture : IDisposable
{
    public readonly Texture2D Texture;

    public RaylibTexture(string path)
    {
        Texture = Raylib.LoadTexture(path);
    }

    public static implicit operator Texture2D(RaylibTexture texture)
    {
        return texture.Texture;
    }

    public void Dispose()
    {
        Raylib.UnloadTexture(Texture);
    }
}
Want more examples?
TL;DR
- Create a new C# console project
- Install the Raylib-cs NuGet package
- Create a Raylib window
- Draw text to the window
- Add an
Assetsfolder - Configure the
.csprojfile so assets are copied to the output directory - Load and draw a texture
- Unload Raylib resources manually, or wrap them with
IDisposableandusing
Thank you for reading.
In the next chapter we will learn more about debugging and profiling.